どうも、ちょげ(@chogetarou)です。
OutlinedButtonを横幅いっぱいにする方法を紹介します。
方法

OutlinedButtonを横幅いっぱいにする方法は、2つあります。
style
1つは、OutlinedButtonの引数「style」を使う方法です。
まず、OutlinedButtonの引数「style」にOutlinedButton.styleFrom()を指定します。
そして、styleFromの引数「fixedSize」もしくは引数「minimumSize」で横幅を最大限に指定します。
OutlinedButton(
  style: OutlinedButton.styleFrom(
    fixedSize: Size.fromWidth(double.maxFinite), //横幅に最大限のサイズを
  ),
  onPressed: () {},
  child: Text('Button'),
),
使用例
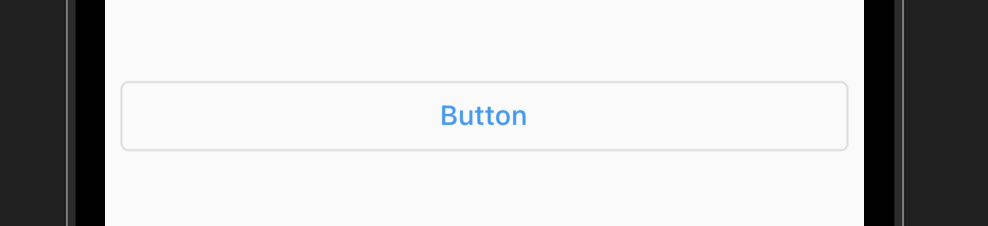
  @override
  Widget build(BuildContext context) {
    return SafeArea(
      child: Scaffold(
        body: Center(
          child: Padding(
            padding: const EdgeInsets.all(8.0),
            child: OutlinedButton(
              style: OutlinedButton.styleFrom(
                fixedSize: Size.fromWidth(double.maxFinite),
              ),
              onPressed: () {},
              child: Text('Button'),
            ),
          ),
        ),
      ),
    );
  }
Container or SizedBox
もう1つは、ContainerやSizedBoxを使う方法です。
まず、OutlinedButtonをContainerもしくはSizedBoxでラップします。
そして、ContainerもしくはSizedBoxの引数「width」に「double.infinity」を指定します。
Container( //SizedBoxでも同じ
  width: double.infinity,
  child: OutlinedButton(・・・),
),
使用例
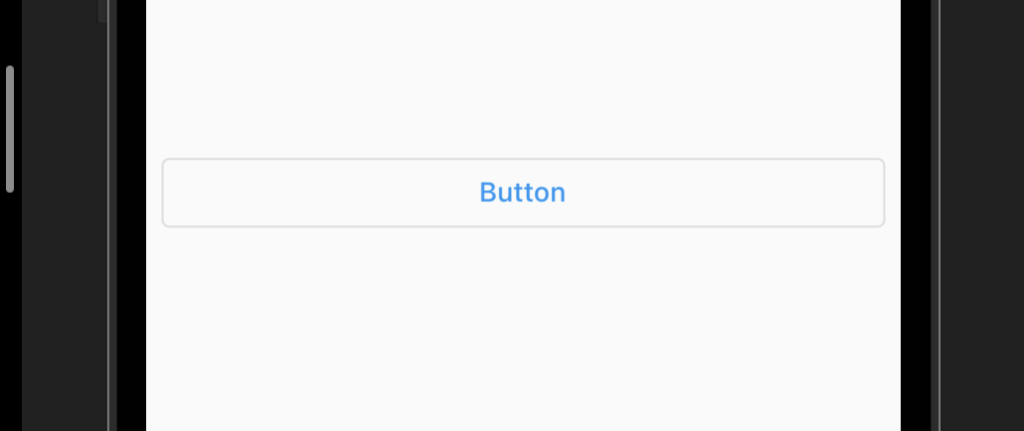
  @override
  Widget build(BuildContext context) {
    return SafeArea(
      child: Scaffold(
        body: Center(
          child: Container(
            width: double.infinity,
            padding: const EdgeInsets.all(8.0),
            child: OutlinedButton(
              onPressed: () {},
              child: Text('Button'),
            ),
          ),
        ),
      ),
    );
  }
まとめ
OutlinedButtonを横幅いっぱいにする方法は、次の2つです。
- OutlinedButtonの引数「style」を使う方法
- ContainerやSizedBoxを使う方法