どうも、ちょげ(@chogetarou)です。
OutlinedButtonのマージンを設定する方法を紹介します。
方法

OutlinedButtonのマージンを設定する方法は、2つあります。
Container
1つは、Containerを使う方法です。
まず、OutlinedButtonをContainerでラップします。
そして、Containerの引数「margin」にマージンを指定します。
マージンは、EdgeInsetsで指定します。
Container(
  margin: margin, //EdgeInsetsクラスでマージンを指定
  child: OutlinedButton(
    onPressed: () {},
    child: Text('Button'),
  ),
),
使用例
@override
Widget build(BuildContext context) {
return SafeArea(
child: Scaffold(
body: Center(
child: Container(
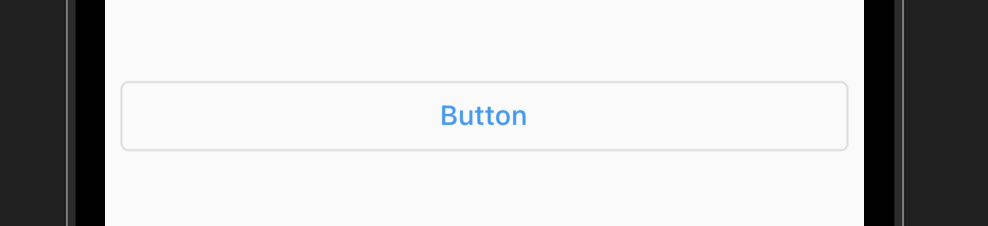
margin: EdgeInsets.symmetric(horizontal: 10.0),
width: double.infinity,
child: OutlinedButton(
onPressed: () {},
child: Text('Button'),
),
),
),
),
);
}Padding
もう1つは、Paddingを使う方法です。
まず、OutlinedButtonをPaddingでラップします。
そして、Paddingの引数「padding」にマージンを指定します。
マージンは、EdgeInsetsクラスで指定します。
Padding(
  padding: margin, //マージンをEdgeInsetsクラスで指定
  child: OutlinedButton(
    onPressed: () {},
    child: Text('Button'),
  ),
),
使用例
@override
Widget build(BuildContext context) {
return SafeArea(
child: Scaffold(
body: Center(
child: Column(
mainAxisSize: MainAxisSize.min,
children: [
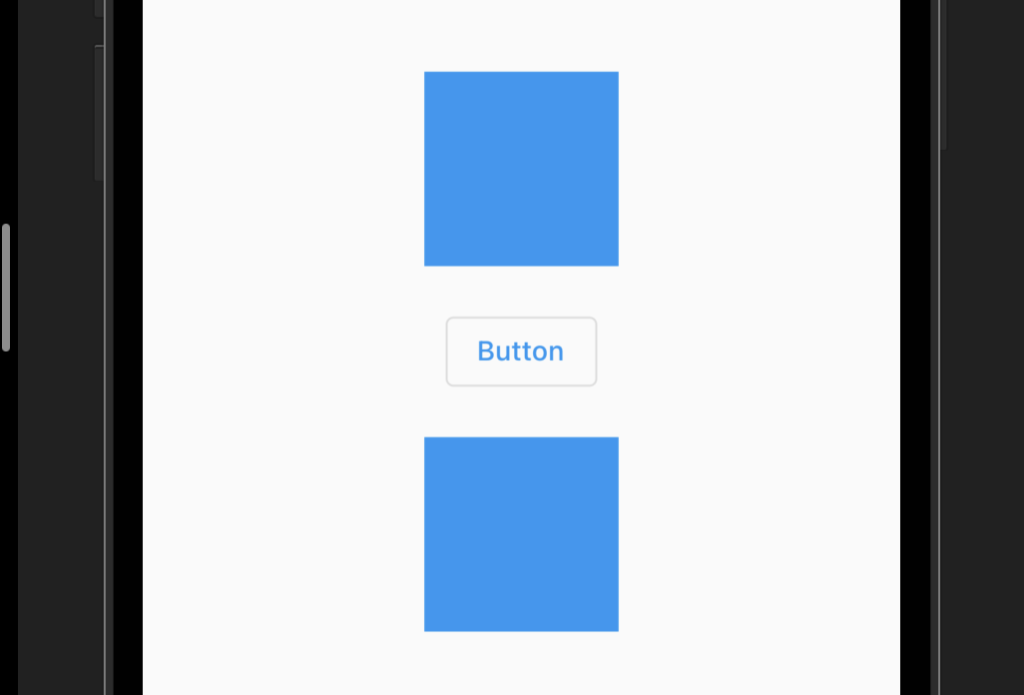
Container(
height: 100,
width: 100,
color: Colors.blue,
),
Padding(
padding: const EdgeInsets.all(20.0),
child: OutlinedButton(
onPressed: () {},
child: Text('Button'),
),
),
Container(
height: 100,
width: 100,
color: Colors.blue,
),
],
),
),
),
);
}まとめ
OutlinedButtonのマージンを設定する方法は、次の2つです。
- Containerを使う方法
- Paddingを使う方法