
どうも、ちょげ(@chogetarou)です。
CupertinoPickerに枠線をつける方法を紹介します。
方法

CupertinoPickerに枠線をつけるには、Containerを使います。
まず、CupertinoPickerをContainerでラップし、Containerの引数「decoration」にBoxDecorationを指定します。
そして、BoxDecorationの引数「border」にBorder.all()を指定します。
Container(
  decoration: BoxDecoration(
    border: Border.all(),
  ),
  child: CupertinoPicker(・・・),
),
Containerを使えば、CupertinoPickerに枠線をつけることが出来ます。
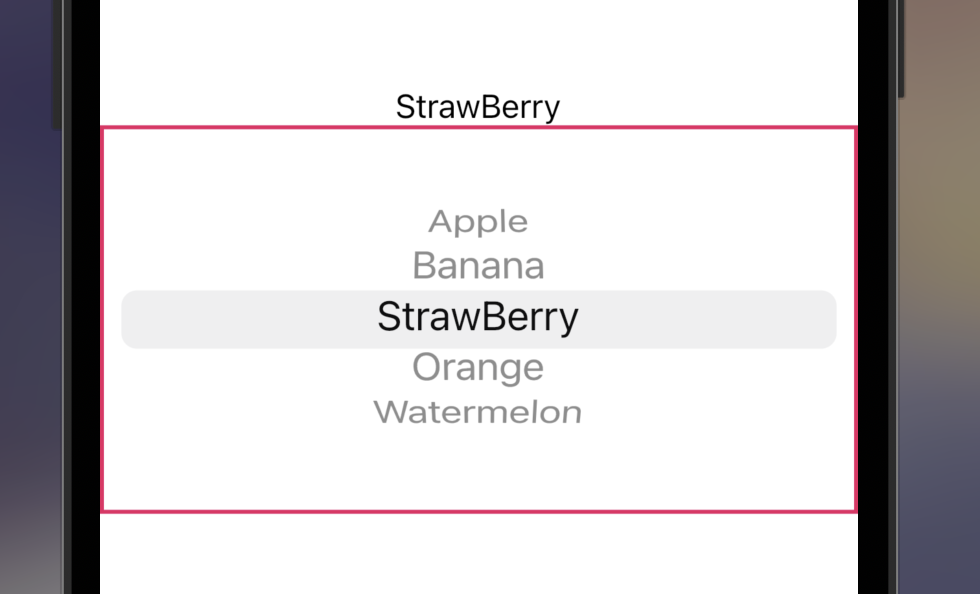
使用例
以下は、使用例です。
class MyHomePage extends StatefulWidget {
  @override
  _MyHomePageState createState() => _MyHomePageState();
}

class _MyHomePageState extends State<MyHomePage> {
  var _selectedValue = 0;
  final _fruits = [
    "Apple",
    "Banana",
    "StrawBerry",
    "Orange",
    "Watermelon",
  ];
  @override
  Widget build(BuildContext context) {
    return SafeArea(
      child: CupertinoPageScaffold(
        child: Center(
          child: Column(
            mainAxisSize: MainAxisSize.min,
            children: [
              Text('${_fruits[_selectedValue]}'),
              Container(
                decoration: BoxDecoration(
                  border: Border.all(
                    color: Colors.pink,
                    width: 2.0,
                  ),
                ),
                height: 200,
                child: CupertinoPicker(
                  itemExtent: 30.0,
                  children: _fruits.map((e) => Text(e)).toList(),
                  onSelectedItemChanged: (newValue) {
                    setState(() {
                      _selectedValue = newValue;
                    });
                  },
                ),
              ),
            ],
          ),
        ),
      ),
    );
  }
}
[Flutter]CupertinoDatePickerのテキストの色を白にするには?
CupertinoDatePickerのテキストカラーを白にする方法を紹介します。
www.choge-blog.com
2022.01.18

[Flutter]CupertinoDatePickerの日付の上限を設定するには?
CupertinoDatePickerの日付の上限を設定する方法を紹介します。
www.choge-blog.com
2022.01.18

[Flutter]CupertinoDatePickerを時間のみの選択にするには?
CupertinoDatePickerを時間だけ選択できるようにする方法を紹介します。
www.choge-blog.com
2022.01.18

[Flutter]CupertinoDatePickerを年月日のみの選択にするには?
CupertinoDatePickerを年月日だけを選択できるようにする方法を紹介します。
www.choge-blog.com
2022.01.17